Showing posts with label christmas. Show all posts

Monday, November 14, 2011

~Handmade Holiday Tradition/Esty Greetings Blog Hop: How To Make Danish Christmas Hearts~

Are you like me and have a lot of scrapbooking paper?  I have been looking for different and creative ways to utilize my papers especially the scraps.  Recently my in-laws went to Denmark.  My mother in-law knows how much I love to craft with paper so she brought me back this book: 
Inside there are about 150 Christmas heart patterns.  These paper hearts originated as a Danish Christmas ornament, but, filled with candy, flowers or a love note, it makes a great gift for anyone year round. 
Typically Norwegians don't put as many decorations on their Christmas trees as Americans, and most Norwegian decorations are hand made. Woven heart baskets decorations are typically made from good quality paper in two contrasting colors (often one of the colors is bright red). A good quality gift wrapping paper is a great material to use. Hang the little baskets on the tree either empty or with a few small treats in them. Virtually every school-age child in Denmark learns to make these woven hearts.
Today, with all the design variation, these can be also be used for Valentine's day, gift-tags, invitations, thanks-you cards, etc. It's fun to try all the various types of shapes that are available.
IMGHere is the basic Christmas heart pattern with instructions on how to weave along with the pattern.  Print out the pattern below and use it as your template.  The straight edge needs to be on the fold.  You will need to cut one of each color.  If the pattern is too small you can always enlarge it on a copier.  
Interested in learning more about Christmas traditions in Denmark?  Visit these websites to learn more:
Visit Denmark
Family Christmas Traditions
Holiday Traditions in Denmark
Danish Christmas Dinner Menu & Recipes


Sit back, relax and take a stroll though our Holiday Traditions Blog Hop. You'll find poignant stories, yummy recipes and great holiday printables.  Click the arrows above to go to the next blog in the hop. There's no time limit so feel free to browse our blogs - maybe you'll find a new tradition to start with your family!
 
Interested in more Danish Christmas heart patterns?  Become a fan of the Sno Valley Greetings facebook page and watch for more patterns to try out.

Tuesday, November 8, 2011

~Etsy Greetings Team: Holiday Boutique Sales Event~

Starting November 7th the Etsy Greetings Team is hosting a holiday boutique sales event.  It is a perfect way to stock up early on your holiday greetings and get a great sales price!  The event will run until November 14th.  Each shop is featuring a different sale.  To search all of the shops go to Esty.com and use search words “egholiday”.

My shop, Sno Valley Greetings, is offering 10% off your entire order.  At check out please type in HOLIDAY10 to automatically receive the sale price. 

Happy Shopping!

Sunday, November 6, 2011

~The Holidays Are Right Around The Corner~

Now that Halloween is over Thanksgiving and Christmas will soon be here.  Are you getting ready for the holidays?  Even though I shop for gifts year round there is still so much to do!  Every year there are things that I want to do and unfortunately I run out of time.  This year will be different.  Here are the things I have accomplished so far this year: 

  • I’ve been clipping coupons and stocking up on ingredients for turkey day.
  • I’ve dug up my recipes for Thanksgiving.
  • I was accepted to be a vendor at the Holiday Bazaar at the Si View Community Center in North Bend.
  • I have hand made approximately 150 holiday greeting cards that I plan on selling at the bazaar and in my etsy shop.
  • I’ve started to list holiday cards in my shop, Sno Valley Greetings.
  • I have about half of my Christmas shopping done. (yay!)

Here are my goals for November:

  • Make a food donation to the Mt. Si Food Bank.  Currently they need turkeys, click HERE for details on how and when to donate.
  • Finish the rest of my Christmas gift shopping.
  • Buy wrapping paper and maybe start wrapping gifts.
  • Continue to make cards and gift tags to sell at the holiday bazaar.
  • Decorate the house! (my favorite part)
  • Get our Christmas tree (this year we are looking for a 10 foot tree)

What are your holiday plans and goals you would like to accomplish?

Saturday, June 25, 2011

~Six Months Until Christmas!~

Christmas is my favorite holiday and as of today it is six months away.  This makes me excited but also a little anxious.  You may think six months is a long time but really before you know it the holiday season will be here.  Seems like every year the Christmas season starts a little earlier than the last.  I’ve see Christmas items come out as early as Halloween.  Either way it doesn’t matter because this year I will be READY!  Ok, every year I say this but I really want this to be my goal this year.  Typically I shop year round.  I already have more gifts stashed away this year than I have in the previous years so I’m feeling good about having shopping done early.

Me with all my ornaments, yes I have a lot and each year I collect more! IMG_9571For those of you that live in Washington you know so far our spring and summer has been pretty glum...  It’s almost July and we have maybe had a handful of sunny days in the 70’s with no rain and blue skies.  So you might think I’m crazy for talking about winter with our summer being so lacking but I’m looking at the “bright” side.

Our Christmas tree last year.  This year it will be bigger!IMG_9576

My kitty Stamper.  He loves Christmas too! IMG_9566

Let the Christmas Count Down Begin!

Monday, December 6, 2010

10 Holiday Card Tips

1.  If you are uncertain if the recipient celebrates Christmas, Hanukkah, or another religious faith or tradition then send a neutral card that says “Happy Holidays”, “Season’s Greetings”, “Warm Wishes For A Happy Holiday Season”, or “Peace on Earth”.

2.  Write a short note inside the card.  Don’t just sign you name, besides, the whole point of sending a holiday card is to get personal.

3.  Include a family photo and write a caption on the back.  Be sure to include kids names/ages and where/when the photo was taken.

4.  Remember to include a return address on the envelope.

5.  Send a card to everyone who sends you one.

6.  Be sure to mail your holiday cards out so they arrive prior to the actual day.

7.  Hand addressing the envelope is more personal than a label.

8.  Email greetings are not a substitute for an actual holiday card.

9.  If you write a holiday newsletter make sure you don’t over-do it.  Only include the highlights from the past year and be sure to keep it on one page. 

10.  Support local artists and buy handmade at www.etsy.com

Friday, December 3, 2010

Recipe Friday–Peanut Butter Cup Cookies

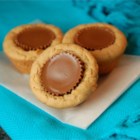
I have yet to try this recipe but it looks delicious and if you love peanut butter cups why not give it a try?  The reviews are 5 star and the recipe looks easy.  This recipe is courtesy of www.allrecipes.com. 

Ingredients
  • 1 3/4 cups all-purpose flour
  • 1/2 teaspoon salt
  • 1 teaspoon baking soda
  • 1/2 cup butter, softened
  • 1/2 cup white sugar
  • 1/2 cup peanut butter
  • 1/2 cup packed brown sugar
  • 1 egg, beaten
  • 1 teaspoon vanilla extract
  • 2 tablespoons milk
  • 40 miniature chocolate covered peanut butter cups, unwrapped
Directions
  1. Preheat oven to 375 degrees F (190 degrees C).
  2. Sift together the flour, salt and baking soda; set aside.
  3. Cream together the butter, sugar, peanut butter and brown sugar until fluffy. Beat in the egg, vanilla and milk. Add the flour mixture; mix well.
  4. Shape into 40 balls and place each into an ungreased mini muffin pan.
  5. Bake at 375 degrees for about 8 minutes. Remove from oven and immediately press a mini peanut butter cup into each ball. Cool and carefully remove from pan.

Nutritional Information

Amount Per Serving  Calories: 122 | Total Fat: 6.5g | Cholesterol: 12mg

For a direct link to the recipe click HERE.

Sunday, November 15, 2009

~Make Your Own Snowflake Holiday Gift Card Holder~

I came across this great project idea on Michael’s website.  These gift card holders are a perfect way to personalize your gift rather than put it in a store bought holder.  I’ve included directions below on how to make the Snowflake Gift Card Holder.   

Materials Used:

  • Eazy Felt Stiffened Felt: Purple, Light Blue, White
  • Holiday Trim It-Up Blue, Light Blue & White with Silver Edge Ribbon
  • 'Tis The Season Silver Dot on White Grosgrain Ribbon
  • Sparkling Glitter Glue, Lilac
  • Scissors
  • Ruler or Straight Edge
  • Craft Knife or X-Act® Knife
  • Glue Gun and Glue Sticks
  • 1/8-inch Hole Punch

Cost of each project will vary depending on materials used.

Directions:

Cut two circles with a diameter of 4½-inches from the purple Eazy-Felt.

Use the hole punch to make holes in the purple felt circles about every ¼-inch around the entire circumference. Lay the second piece on top and punch through both pieces to ensure the holes line up. Cut a 25-inch piece of white narrow ribbon with silver edge. Lace this through the holes. Leave a 3-inch opening on one side of the circle, lacing only to one side and not through to the other circle. Do the same to the other side of the 3-inch opening. This will give the illusion that it is completely laced all the way around. Glue down each end inside the circle so it cannot be seen.

Use a snowflake template from the computer or freehand draw one onto paper. Use a copier or printer to reduce the size of the snowflake, just make sure the snowflake fits within the purple felt circles, including the lacing. Print three sizes in smaller succession. Place the largest snowflake over the light blue felt and cut out entire flake with the craft knife. Take the smallest snowflake template and only cut the center of the flake out of the light blue felt. Take the medium sized snowflake and cut the flake completely out of the white felt. Layer and glue the snowflakes together as shown.

Glue the light blue felt snowflake down in the center of the circle. Lay the white snowflake on top and glue down. Glue the light blue center of the snowflake down in the center of the white snowflake.

Cut a 6-inch piece of silver dots on white grosgrain ribbon. Fold in half, glue ends together. Glue the raw end to the inside of the tag but only the front or the gift card holder will get glued shut.

Use the glitter glue to accent the snowflake. Place glitter glue in center of snowflake over the blue felt and just at the tips of the other parts of the snowflake.

Tip:

Use photo as a guide and follow manufacturer’s instructions for all products used.

The felt and ribbon colors could easily be changed to suit any particular theme or color scheme. Please experiment within the idea.

If you are interested in seeing the project sheet on Michael’s website click HERE to be re-directed.  Happy Crafting!

Tuesday, March 17, 2009

~Tag You’re It!~

Designs By Vanessa tagged me!  Once tagged you pick the 4th photo in your “pictures” file on your computer, upload the photo to your blog, and tell everyone about it.  Since my most recent photos are of my cards I decided to pick the 4th folder in my “pictures” file then picked the 4th photo inside that file.  Turned out to not be one of my card creations but Christmas last year. :)

IMG_2103 

This picture is of my parent’s Christmas tree on Christmas morning with all the goodies and gifts underneath.  Long long ago we planted little saplings that are now all grown up.  Every year we cut a tree down.  Since I moved out of the nest I get the treat of getting my very own tree off the lot.  We have so much fun every year.  It’s a great family tradition.

Tuesday, February 24, 2009

~February EtsyBlogger of The Month: Donna Pool~

Congrats to Donna Pool who is the featured Etsy Blogger of the month for February!

To visit Donna’s shop click HERE!

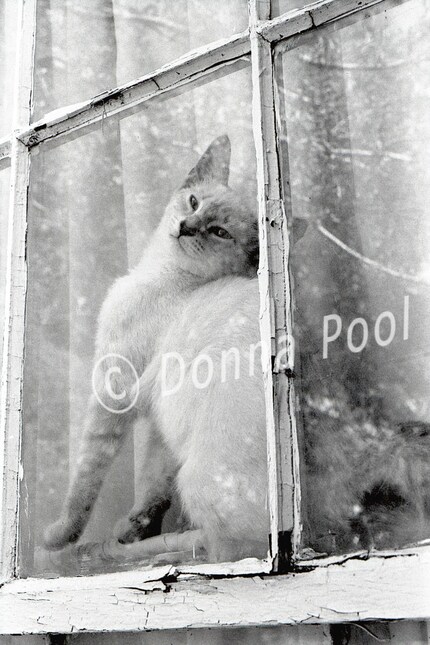
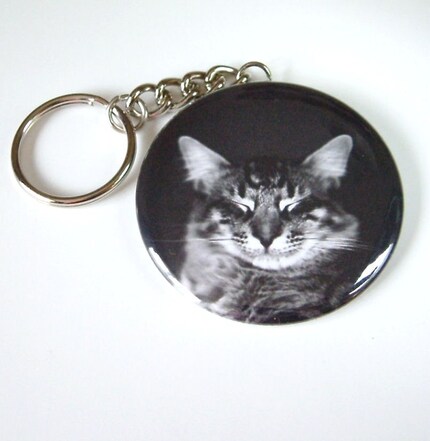
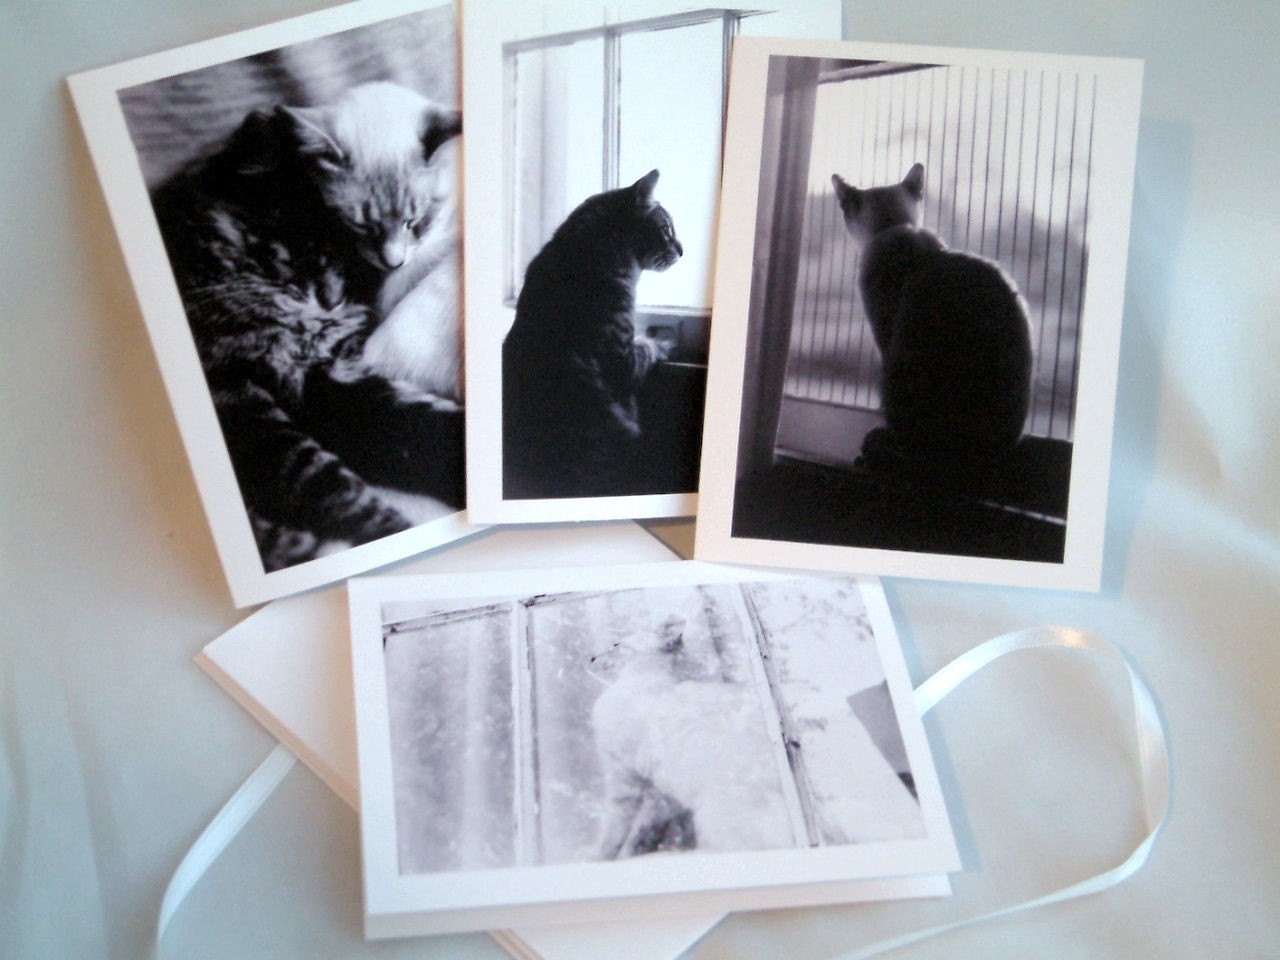
Donna’s shop is stocked with lovely handmade goodies.  If you are looking for a gift for a cat lover her shop is a perfect one stop shop.  Below I’ve listed some sections in Donna’s shop, click the category to be taken to the appropriate section: 

Interested in learning more about Donna and her shop?  She has two blogs, check them out:

http://ddpool.blogspot.com/

http://ddpool.vox.com/